Teaching English with Pictures
Summer is upon us, in the Northern hemisphere, so I’ve decided to give you some ideas that can be used in summer schools as well as regular classes. These ideas involve using images from photo resources such as ELTpics, or other non-copyright (but requiring crediting as appropriate) sources such as Wikipedia, and/or your own photos and even possibly students’ own!
There are three basic ideas here, but feel free to adapt and tailor to your own classroom.
1 Spot the changes
Ingredients

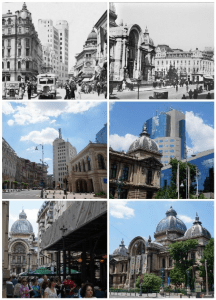
- Two or more images of the same place which have been taken years apart. Try looking for an old image of a familiar place – possibly near your school – and then add one you have taken yourself. Younger students are more likely to be engaged if the place in the images is of part of their own life and they may be intrigued by the changes. Adults may be interested in ‘exotic’ places that have changed with time – New York, Paris, Tokyo, London etc. The example photographs here are of central Bucharest.
What to do
1. Put students into small groups or teams of three or four and set a time limit for them to spot as many changes as possible. Do not allow them to write anything down, at this stage, but they may use a dictionary (or you!) to look up any words they need. Asking them not to write down their ideas forces them to use their memory, but you can suggest that each member of the team memorise some of the ideas to share out the work.
2. Brainstorm ideas. As teams give you their ideas, point to the areas on the photos they refer to and repeat their ideas. Keep reviewing teams’ ideas as you brainstorm. For example:
Student 1: The building on the corner has changed.
You: (pointing at the building in the older photo): This building has gone.
Student 2: There’s a new, glass building next to the other old one.
You: (pointing at the glass building) There’s a new glass building here. The old building on the corner has changed.
Student 3: The traffic signs are different.
You: (pointing at a traffic sign) The traffic signs are different, there’s a new glass building (pointing) and the old building on the corner has changed.
And so on. This way the class hears the sentences a number of times.
Reorganise the class
3. When all the teams have given their ideas, reorganise the class into pairs. Set a time limit of about 10-15 minutes for pairs to write about the changes they have noticed in the pictures.
4. Monitor while they work. In each pair, one person should be responsible for remembering the ideas, and the other for checking that the spelling, vocabulary, grammar etc are correct. This means both should be working.
5. Use their texts to make a poster, arranging them around the photos as the students choose. You may offer more pairs of photos for them to write about in a similar way.
6. Make it more fun! – If you can, with younger students, ask them to then go to the place in the photos and take a selfie with the place in the background. Their selfies can then be added as a fun illustration to their posters. This is particularly effective with summer schools, as you can ask them to write about two or three pairs of photos, working purely from observation, but when they then go to the places and take their selfies, they may notice other things or even interview people they meet at the place, people who work there, tourists visiting the place… Encourage them to add more information to their posters when they add their selfies.
2 Spot-the-difference
Ingredients
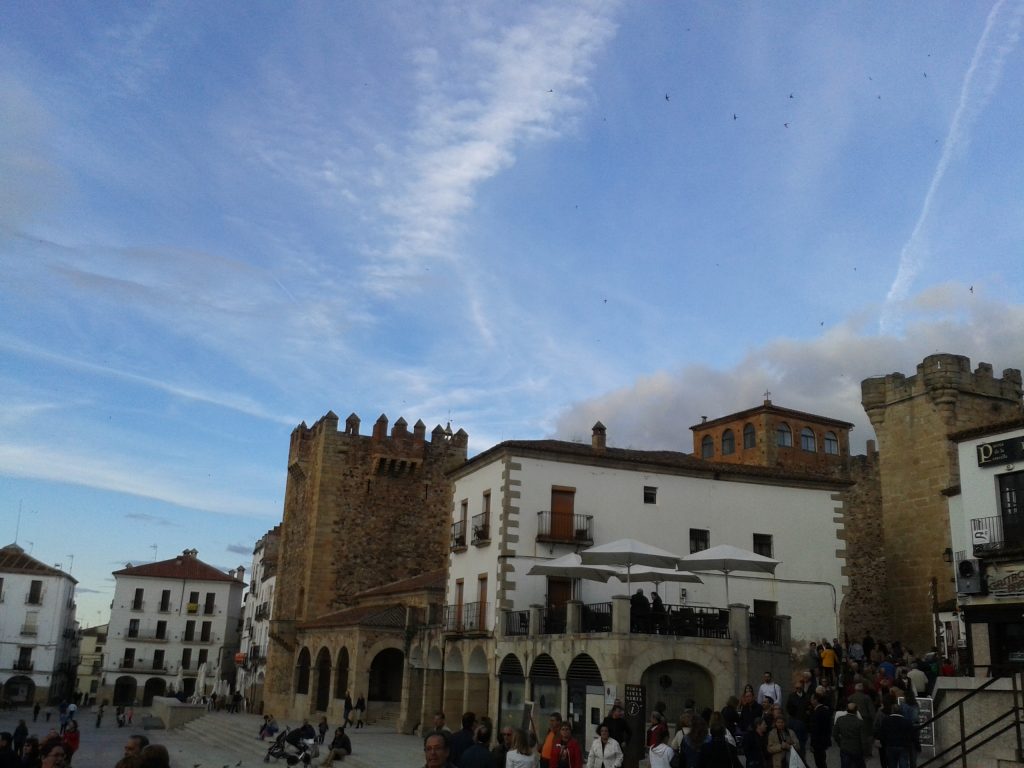
- Two images of the same place but taken some years apart and at different times of year or day (see above for appeal of different places with different ages – again, local places are recommended, for interest).

What to do
1. Play the old ‘spot-the-difference’ chestnut of a game. Put students in pairs, and give each student one photo (but tell them not to show each other their photos!) so that Student A has the older photo, Student B has the newer one.
2. Students take turns to ask Yes/No questions to find as many differences between the two photos as possible.
3. When they have finished, you may wish to try either the activity above (Spot the Changes) or the one below (Change Poems & Stories), giving more affordance to the images.
3a. Alternatively, if you are involved in a summer school, you can send students to find the place in the photo and take another photo. In the examples above, the recent photo of Cáceres Main Square (Plaza Mayor) was taken at night, so students would probably take a day shot. They may also take a photo from a different angle, like the day shot below. They can then comment on the differences again.

Asking students to find the places – if they are close by – and add their own photos to the activity is a useful way of motivating students, and also provides opportunities for meaningful repetition of the activity and the language.
3 Change poems or stories
Ingredients
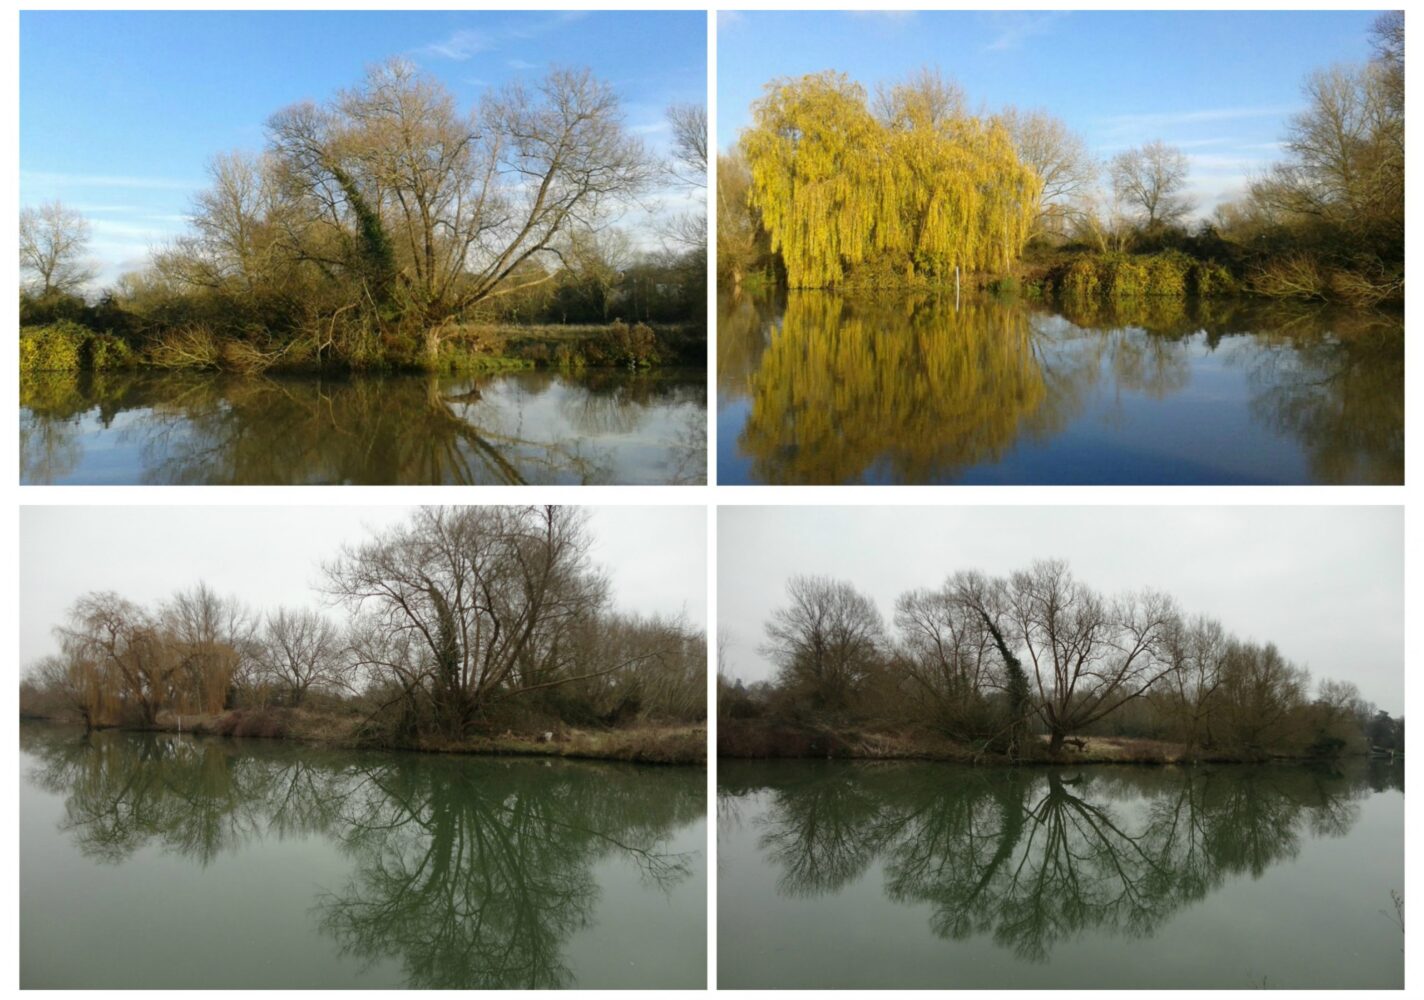
- Two or four images of the same place taken months or hours apart. The images needn’t be too detailed.

What to do
1. Hand out or project two images of the same place taken months apart. Invite speculation as to where, when and why the images were taken (as learners often confuse the question words in English, it is always useful to work with them in this way).
2. Put students into pairs or small groups to brainstorm words related to the images. Ask students to write their words in two columns under the headings: English words Not English words
This way you can help them expand their vocabulary, as, if they can only brainstorm in English, they will be limited to what they can say and will look at the images with ‘limited’ eyes.
3. Elicit all their words and write them on the board, under the same two headings. Working as a class, find out if any of the students can translate any of the words in the Not English words column into English. As they are translated, cross them out in the Not English column (do NOT rub them out – the crossed-out words act as prompts) and add them to the English words column. Using dictionaries (be sure students know how to use them correctly!), or with your help, gradually translate all the remaining words and transfer them to the English words column.
4. Using a minimum of, for example, eight new words from the board, ask students to work together to write a story, a poem or (using 3-5 of the new words) a haiku.
a A story or poem
5. Ask them to think about the changes between the two photos, and remind them of their answers to the when, where and why questions. Encourage them to imagine a person in the pictures or to choose a person, if the images show people, and to tell their story. If the picture is of a place or thing – a bench, a bridge or, as in the photos here, trees, tell students to imagine what they have seen or experienced in the time between the photos. Ask them to consider smells and sounds too. ‘Give their imagination wings’, as a trainee of mine put it, recently.
6. When students have written their stories or poems, tell them you are going to make a book (from Word to pdf, incorporating the original images as illustration) or a poster with them. This should encourage them to write a neat copy. Put the texts together with the photos to make a book or a poster, and invite students to add more photos.
7. Ask students to read each other’s work and make comments. Encourage them to find at least two things that they really like about each other’s work.
b A haiku
5. A haiku is a short poem which compares or contrasts two ideas. Traditionally is has a line of 5 syllables, a line of 7 syllables and a final line of 5 again, though this is not as strictly followed as the comparing or contrasting two ideas. Show students a haiku and ask which elements they can compare or contrast. Ask them to substitute some of the words with different words, but point out that they should think about the number of syllables.
6. When they have the idea of the contrast or comparison, and the number of syllables, refer them to the list of words on the board, and ask them to write a haiku for the photos.
7. As 6 – 7 for a poem or a story (see above). Also encourage them to bring in their own photos and to write more haikus.
Transhaiku
By Rakesh Bhanot and Michael Harrison ©
Transience of leaves
Spring green to autumnal bare
Transience of life


